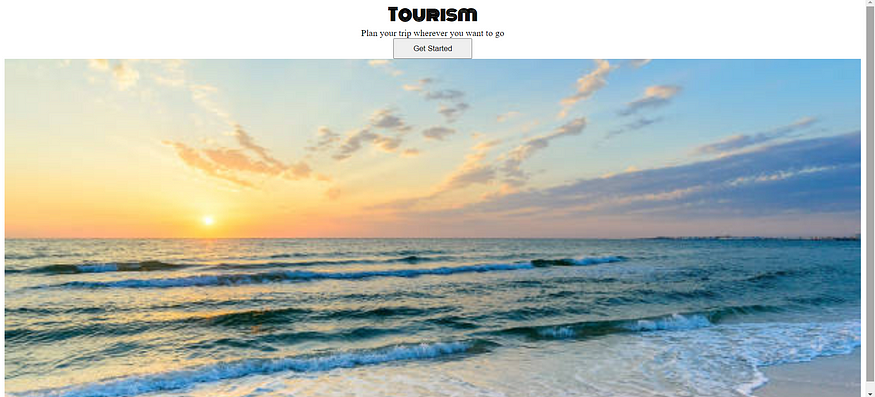
Introduction to CSS BOX MODEL 3(Static Website)
Now let us continue the last story that is styling the button.
Adding background color to the button:
Now let us add background color to the button.
The propert and value for adding the background color to button is:
background-color:color name;
<!DOCTYPE html>
<html>
    <head>
        <link rel="stylesheet" href="back.css">
    </head>
    <body>
        <div class="bg-container">
            <div class="card">
                <h1 class="main-heading">Tourism</h1>
                <p class="paragraph">Plan your trip wherever you want to go</p>
                <button class="button">Get Started</button>
            </div>
        </div>
    </body>
</html>
@import url("https://fonts.googleapis.com/css2?family=Bree+Serif&family=Caveat:wght@400;700&family=Lobster&family=Monoton&family=Open+Sans:ital,wght@0,400;0,700;1,400;1,700&family=Playfair+Display+SC:ital,wght@0,400;0,700;1,700&family=Playfair+Display:ital,wght@0,400;0,700;1,700&family=Roboto:ital,wght@0,400;0,700;1,400;1,700&family=Source+Sans+Pro:ital,wght@0,400;0,700;1,700&family=Work+Sans:ital,wght@0,400;0,700;1,700&display=swap");
.bg-container{
background-image:url("images/sunset.jpg");
background-size:cover;
text-align: center;
height:100vh;
}
.card{
text-align:center;
background-color:white;
}
.main-heading{
color:black;
font-family:monoton;
font-size:30px;
font-weight:bold;
font-style:normal;
margin:0px;
}
.paragraph{
color:black;
margin:0px;
}
.button{
height:36px;
width:138px;
background-color:rgba(17, 156, 230, 0.84);
}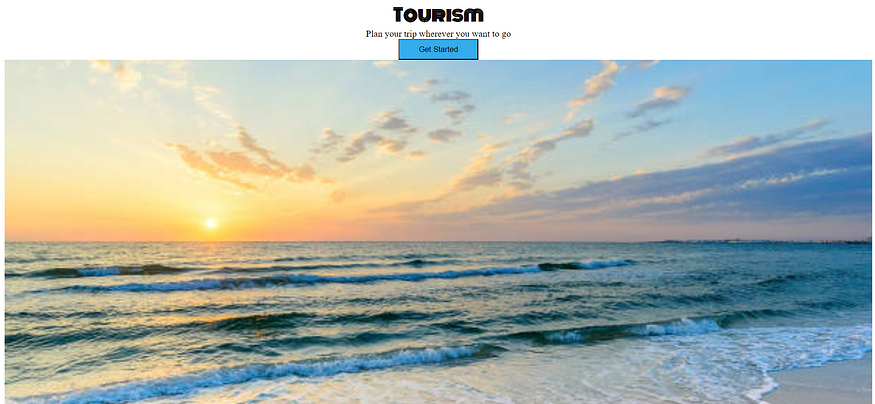
You can see that the color of the button have been changed to blue.
As you can observe above the button borders are not looking good. So our next step is to change the button borders.
The propert and value for changing the button borders is:
border-radius:20px;
You can keep the value of the property as you wish. That may be 2px or 5px or 10px…etc
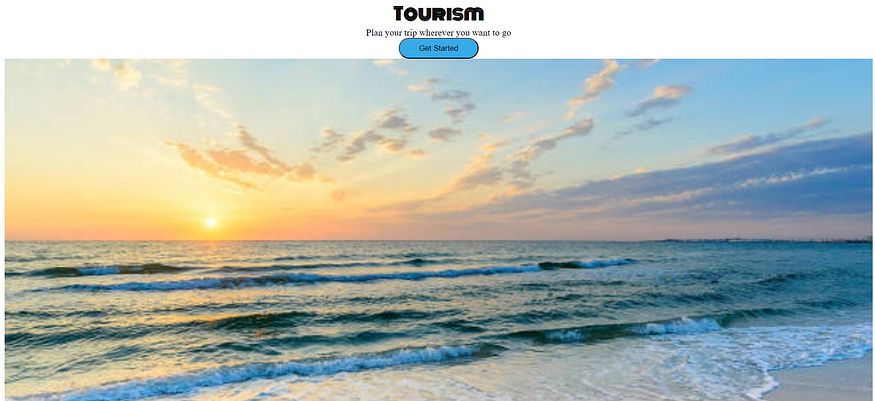
The button borders changed to curve type and as such you can change the borders however you want.
There you can see in the above picture there is no space betwwen content and the border ,so now let us focus on that issue i.e how to add space between them.
Padding:
So, here comes the concept called padding. Padding is the space between the content and the border.
The propert and value for adding the padding is:
padding:20px;
<!DOCTYPE html>
<html>
    <head>
        <link rel="stylesheet" href="back.css">
    </head>
    <body>
        <div class="bg-container">
            <div class="card">
                <h1 class="main-heading">Tourism</h1>
                <p class="paragraph">Plan your trip wherever you want to go</p>
                <button class="button">Get Started</button>
            </div>
        </div>
    </body>
</html>
@import url("https://fonts.googleapis.com/css2?family=Bree+Serif&family=Caveat:wght@400;700&family=Lobster&family=Monoton&family=Open+Sans:ital,wght@0,400;0,700;1,400;1,700&family=Playfair+Display+SC:ital,wght@0,400;0,700;1,700&family=Playfair+Display:ital,wght@0,400;0,700;1,700&family=Roboto:ital,wght@0,400;0,700;1,400;1,700&family=Source+Sans+Pro:ital,wght@0,400;0,700;1,700&family=Work+Sans:ital,wght@0,400;0,700;1,700&display=swap");
.bg-container{
background-image:url("images/sunset.jpg");
background-size:cover;
text-align: center;
height:100vh;
}
.card{
text-align:center;
background-color:white;
padding:10px;
}
.main-heading{
color:black;
font-family:monoton;
font-size:30px;
font-weight:bold;
font-style:normal;
margin:0px;
}
.paragraph{
color:black;
margin:0px;
}
.button{
height:36px;
width:138px;
background-color:rgba(17, 156, 230, 0.84);
border-radius:20px;
}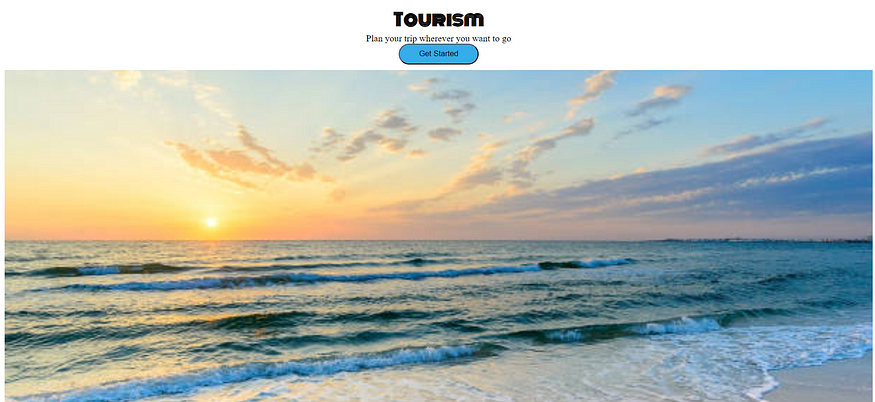
And now the padding is added and the button no more touches the border.
Achieving the button without border:
The border around the button is not so good, now let us remove that border by using border width.
The propert and value for the achieving the button without border is:
border-width:0px;
And if you increase the pixels then border width increases.
<!DOCTYPE html>
<html>
    <head>
        <link rel="stylesheet" href="back.css">
    </head>
    <body>
        <div class="bg-container">
            <div class="card">
                <h1 class="main-heading">Tourism</h1>
                <p class="paragraph">Plan your trip wherever you want to go</p>
                <button class="button">Get Started</button>
            </div>
        </div>
    </body>
</html>
@import url("https://fonts.googleapis.com/css2?family=Bree+Serif&family=Caveat:wght@400;700&family=Lobster&family=Monoton&family=Open+Sans:ital,wght@0,400;0,700;1,400;1,700&family=Playfair+Display+SC:ital,wght@0,400;0,700;1,700&family=Playfair+Display:ital,wght@0,400;0,700;1,700&family=Roboto:ital,wght@0,400;0,700;1,400;1,700&family=Source+Sans+Pro:ital,wght@0,400;0,700;1,700&family=Work+Sans:ital,wght@0,400;0,700;1,700&display=swap");
.bg-container{
background-image:url("images/sunset.jpg");
background-size:cover;
text-align: center;
height:100vh;
}
.card{
text-align:center;
background-color:white;
padding:10px;
}
.main-heading{
color:black;
font-family:monoton;
font-size:30px;
font-weight:bold;
font-style:normal;
margin:0px;
}
.paragraph{
color:black;
margin:0px;
}
.button{
height:36px;
width:138px;
background-color:rgba(17, 156, 230, 0.84);
border-radius:20px;
border-width:0px;
}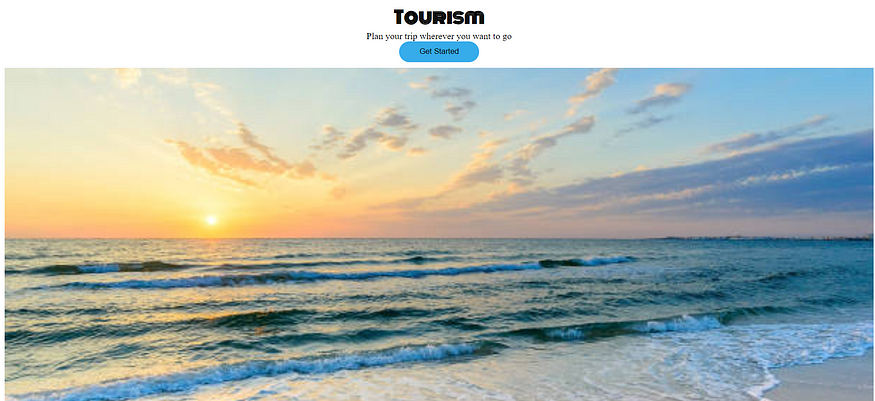
The button border is removed as you can see it above.
Now let us add rounded corners to the card to look more elegant.
Getting Rounded corners for the card:
As we can see the card corners are in rectangular shape and they are simple. So, now let us change the corners to round, so that they appear good.
The propert and value for the achieving the round corners for the card is:
border-top-left-radius:25px;
border-top-right-radius:25px;
border-bottom-left-radius:25px;
border-bottom-right-radius:25px;
Like this you can curve the borders seperately and pixels value can be kept as you want.
<!DOCTYPE html>
<html>
    <head>
        <link rel="stylesheet" href="back.css">
    </head>
    <body>
        <div class="bg-container">
            <div class="card">
                <h1 class="main-heading">Tourism</h1>
                <p class="paragraph">Plan your trip wherever you want to go</p>
                <button class="button">Get Started</button>
            </div>
        </div>
    </body>
</html>
@import url("https://fonts.googleapis.com/css2?family=Bree+Serif&family=Caveat:wght@400;700&family=Lobster&family=Monoton&family=Open+Sans:ital,wght@0,400;0,700;1,400;1,700&family=Playfair+Display+SC:ital,wght@0,400;0,700;1,700&family=Playfair+Display:ital,wght@0,400;0,700;1,700&family=Roboto:ital,wght@0,400;0,700;1,400;1,700&family=Source+Sans+Pro:ital,wght@0,400;0,700;1,700&family=Work+Sans:ital,wght@0,400;0,700;1,700&display=swap");
.bg-container{
background-image:url("images/sunset.jpg");
background-size:cover;
text-align: center;
height:100vh;
}
.card{
text-align:center;
background-color:white;
padding:10px;
border-top-left-radius:35px;
border-top-right-radius:35px;
}
.main-heading{
color:black;
font-family:monoton;
font-size:30px;
font-weight:bold;
font-style:normal;
margin:0px;
}
.paragraph{
color:black;
margin:0px;
}
.button{
height:36px;
width:138px;
background-color:rgba(17, 156, 230, 0.84);
border-radius:20px;
border-width:0px;
}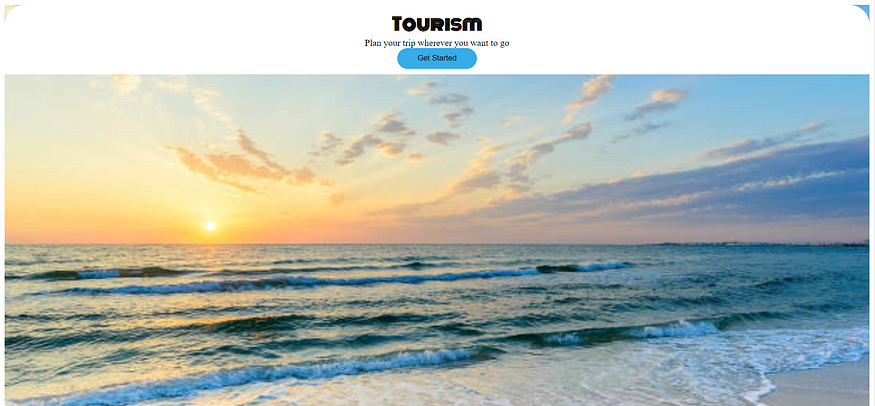
There you can see the borders of the top left and right corners are rounded.

